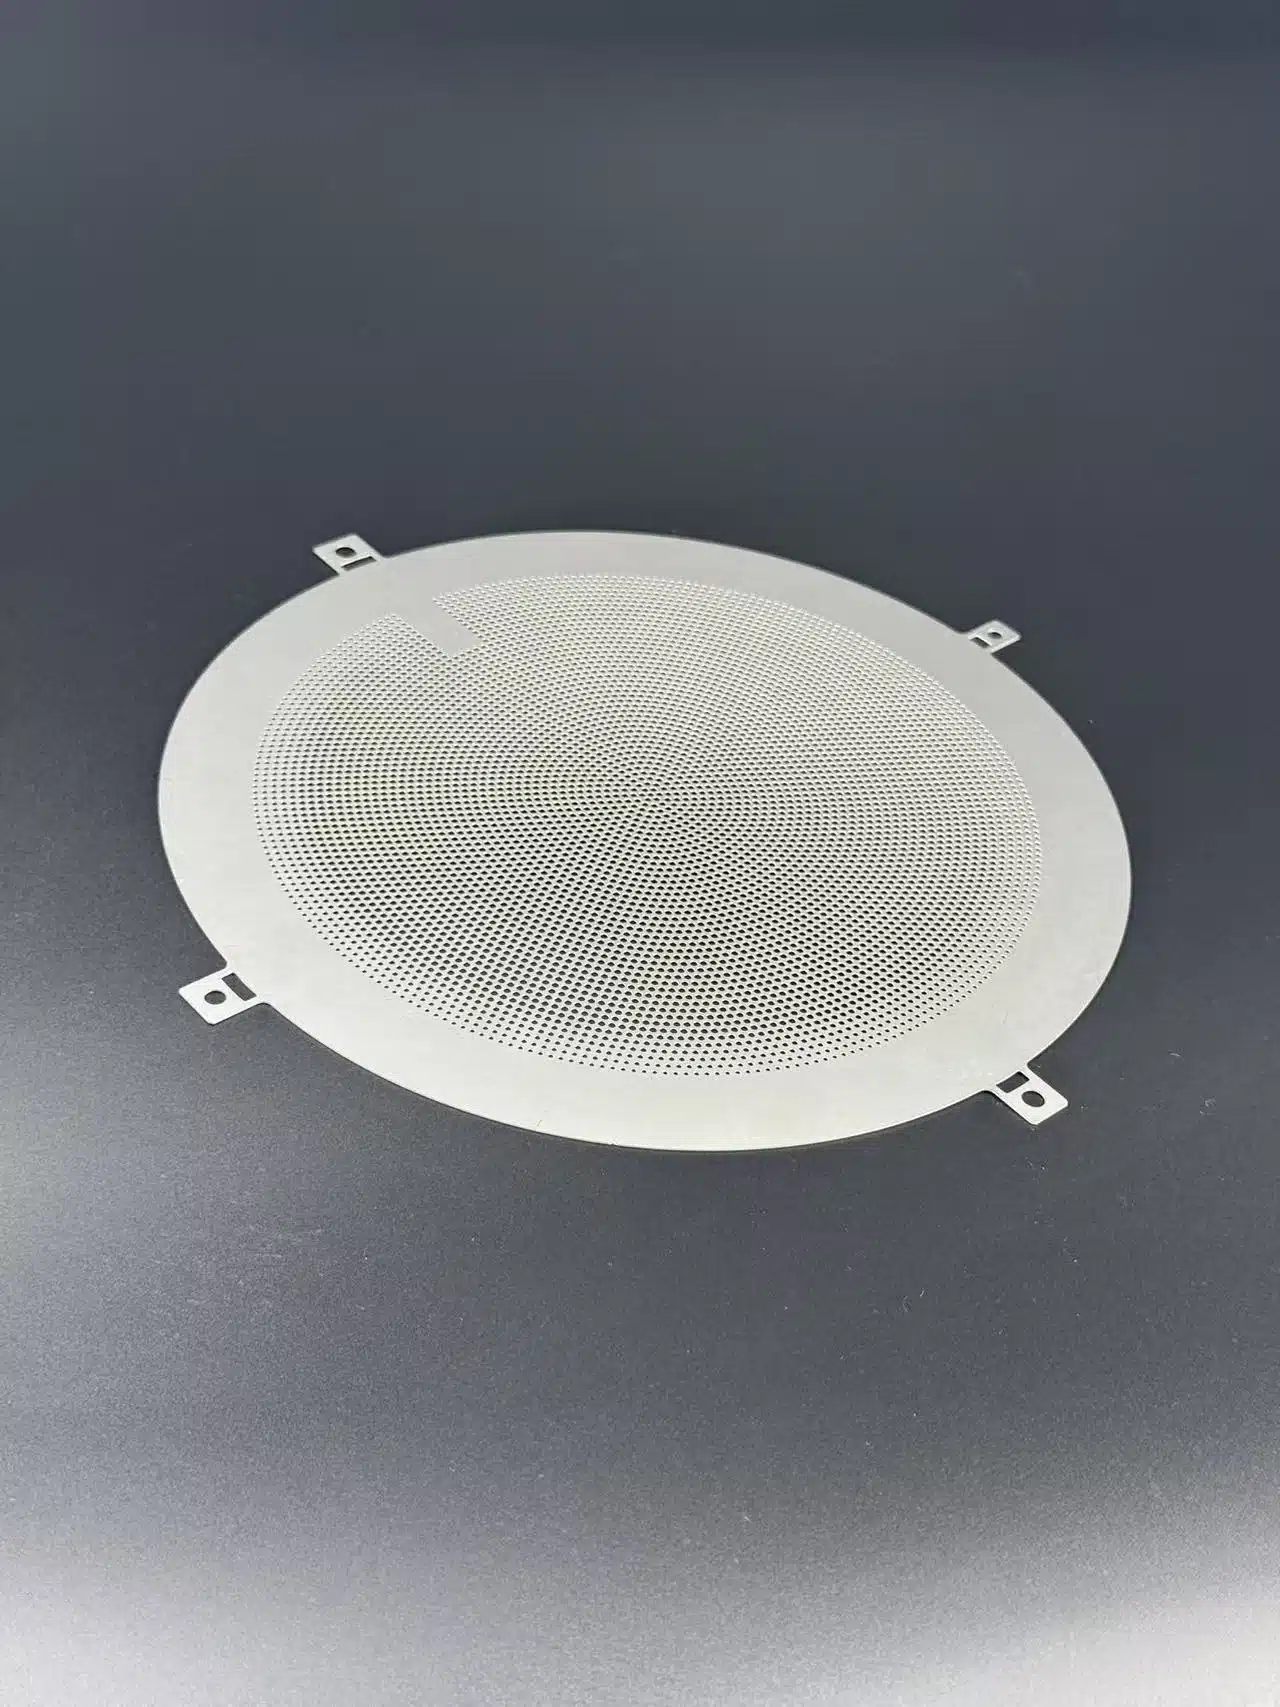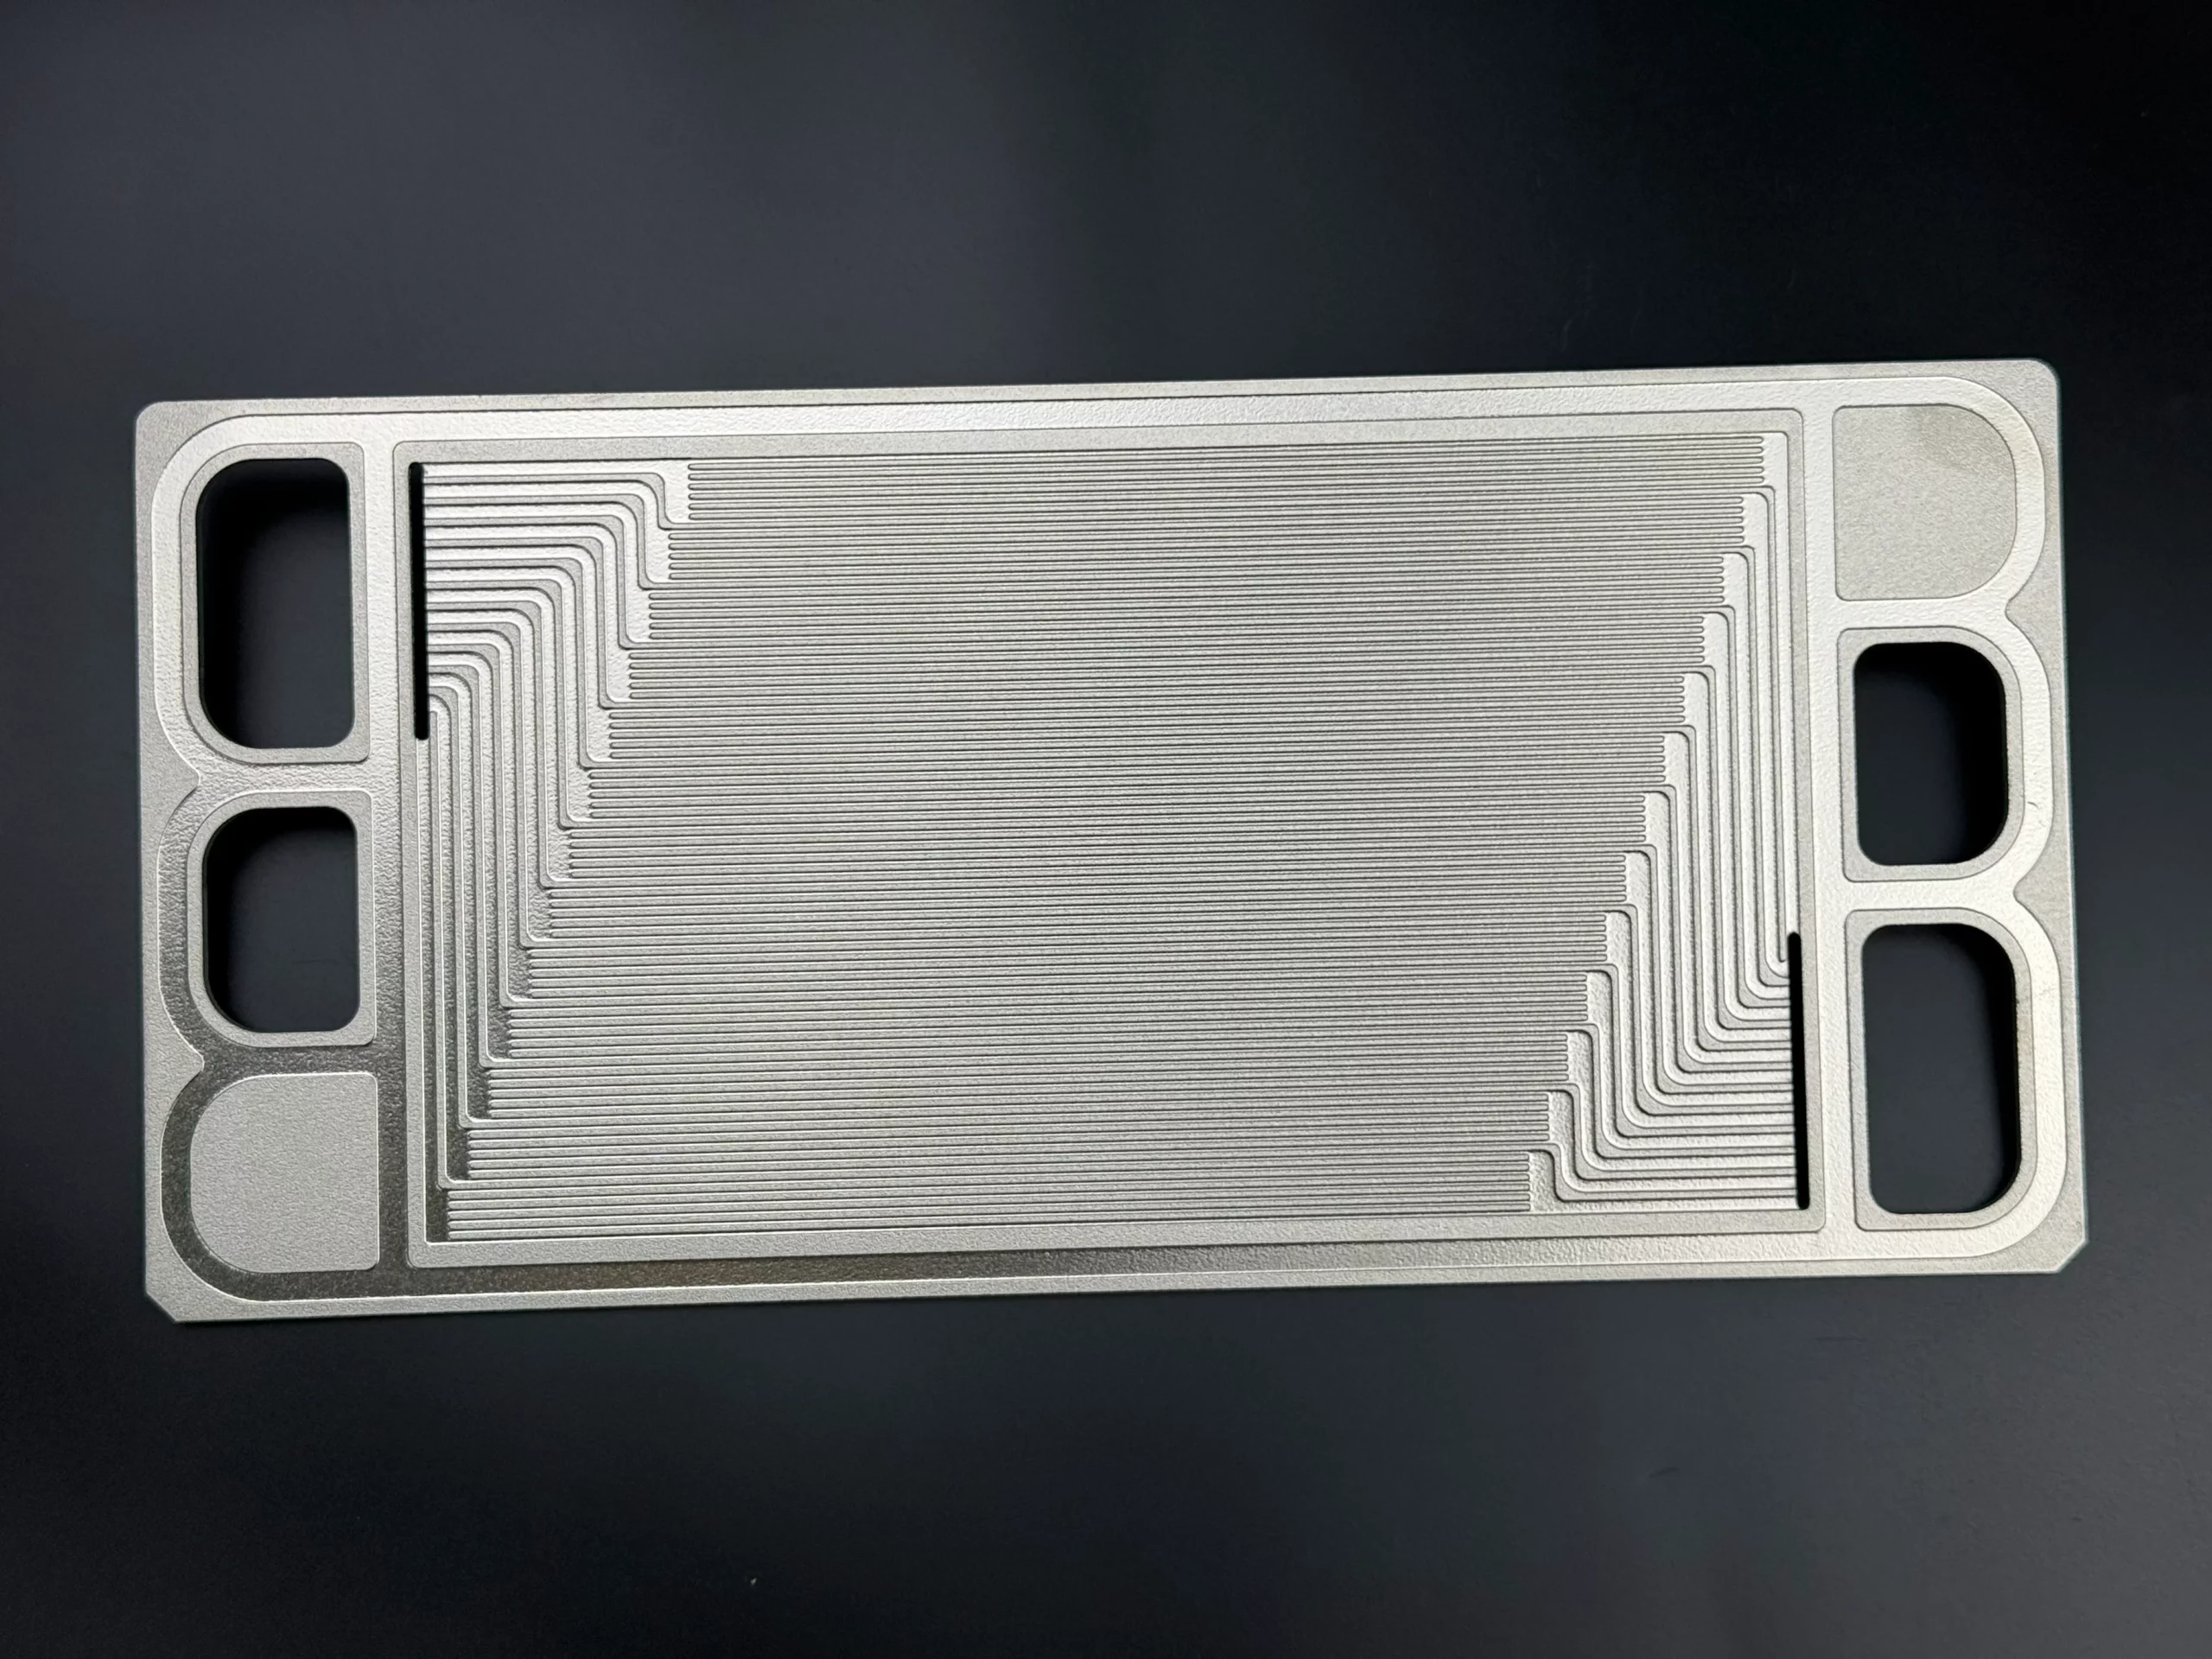

Chemical etching for parts prototyping produces thin-metal samples for checking fit, patterned openings, contacts and other drawing-defined features. Organize the work around a design question, controlled variants and a test plan for the finished part. The goal is a documented decision on what to change, what to retest and which revision can move toward production.
Photochemical etching uses a light-sensitive protective pattern to define where metal is removed. The chemical etching process guide explains the manufacturing steps. For project-specific feasibility, discuss chemical etching services with your drawing and prototype objectives.
Key takeaway: Judge affordability against the complete quoted plan: design variants, delivered condition, inspection, testing and planned iterations.
Define What the Prototype Must Prove
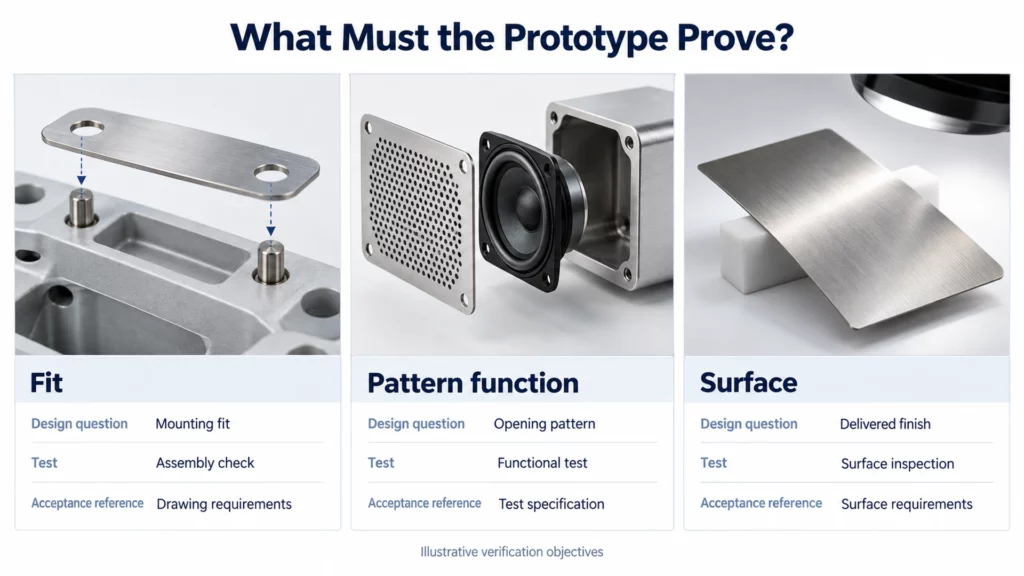
Start with the decision the samples must support. Give each design question a test, acceptance reference and responsible person before ordering parts.
Turn a Design Question into a Test Objective
Choose the tasks relevant to the component. You may need to check mounting fit, compare an opening pattern, verify a contact position or assess a finished surface.
Avoid asking one sample order to resolve undefined questions. Write what will change, what stays fixed and how the result will affect the next drawing revision.
Set Acceptance Criteria Before Ordering Samples
Use a planning table like the example below. Replace the entries with your project’s controlled requirements.
| Design question | Variable | Test | Acceptance criterion | Owner |
|---|---|---|---|---|
| Does the part fit? | Mounting geometry | Agreed assembly check | Drawing and fit requirements | Mechanical engineer |
| Does the pattern meet its purpose? | Opening layout | Defined functional test | Product test specification | Test engineer |
| Is the delivered surface acceptable? | Finish | Final-state inspection | Approved surface requirements | Quality reviewer |
Identify the test fixture, assembly configuration and reporting method. If an acceptance criterion is still missing, assign its definition before the test begins.
Prepare the DFM Inputs and Version Register
Provide a controlled input package before samples are made. Keep the selected material, drawing and intended delivery state connected throughout the review.
Define Material, Condition and the Final Part State
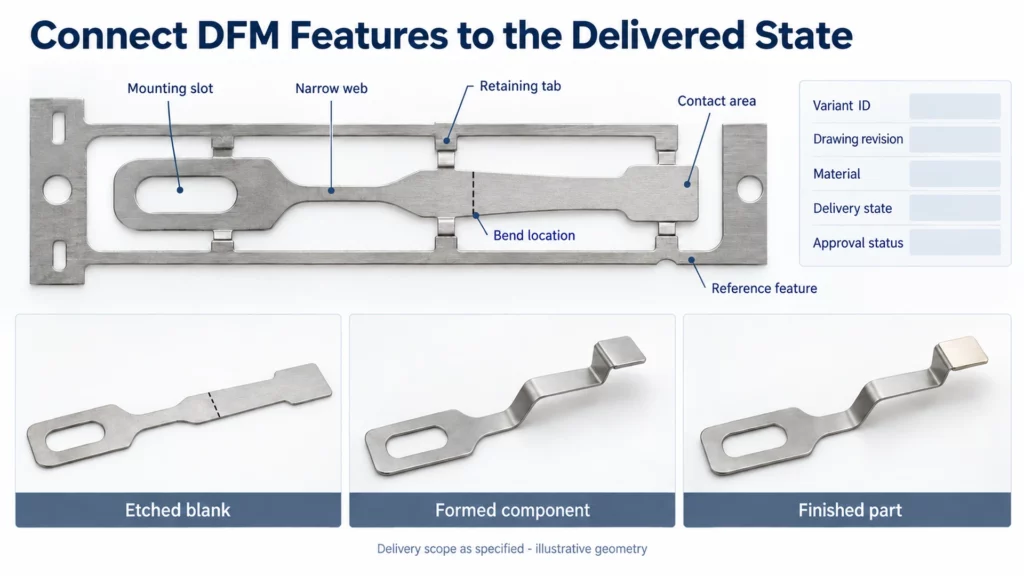
Submit the material grade, specification, supplied condition and thickness. Include the drawing revision, critical features and required surface finish.
State whether the sample must arrive as an etched blank, a formed component or a finished part. Mark which requirements apply after forming, plating or another specified operation.
Request a design for manufacturability, or DFM, review against those inputs. Use the photochemical etching design guide for detailed feature and tolerance considerations, then resolve the requirements for this drawing.
Record Critical Features and Approved Changes
Give every variant a unique identifier and controlled drawing revision. Record the features under review, reference locations, proposed changes and approval status in a version register.
Ask the supplier to identify features needing clarification or sample verification. Retain the proposed change, reason, buyer decision and approved replacement file together.
Before authorizing manufacture, confirm which files control the order. Remove superseded files from the active package and preserve them in the development history. Record who approved the release and which questions remain open for testing.
If early samples use provisional stock or omit a planned finish, identify that difference in the register. State which questions those samples can answer and which require another build.
Review Which Variants Can Share a Panel
Several compatible prototype designs may be processed together. Review compatibility before treating a shared sheet as part of the quotation or schedule.
Check Compatibility Before Combining Designs
Multiple design iterations can share a phototool under suitable processing conditions. A phototool carries the pattern used to expose the protective resist.
Review the material, thickness and supplied condition for every version. Shared-sheet processing examples specify matching metal type, thickness and temper, meaning the material’s supplied condition.
Also submit partial-depth features, forming, finishing and separation requirements for assessment. Ask which variants can share processing and which need separate arrangements. Confirm the resulting quantities, scope and timing in the quotation.
Keep Every Variant Traceable
The A/B/C plan below is illustrative, It shows how an electronic grille project could compare design changes.
Keep material, thickness, condition, finish and test method fixed unless the plan identifies a change.
| Variant | Change from baseline | Design question | Test and decision |
|---|---|---|---|
| A | Baseline drawing | What does the current design achieve? | Record reference fit and functional results |
| B | Revised opening pattern | Does the revised pattern meet the requirement? | Compare with A using the agreed test |
| C | Revised mounting border | Does the border meet assembly requirements? | Review fit and required functional results |
Connect each sample identifier to its variant, material and test records. If panel position must be retained, agree how it will be recorded before separation.
Allocate Samples for Inspection and Functional Tests
Build the sample quantity from the verification work. Assign physical pieces to test activities before confirming the order quantity.
Build the Quantity from the Test Plan
List dimensional inspection, assembly, functional testing, destructive work, retesting and retention separately. Decide which activities can use the same piece and in what order.
For example, inspection and assembly checks may share a sample if the approved sequence leaves it suitable for both. Identify tests that consume, damage or alter the piece and assign separate samples where needed.
Identify who supplies mating parts, fixtures and test equipment. Include their availability in the sample schedule so the agreed tests can start when the parts arrive.
Use an allocation table to resolve the quantities with the project team:
| Variant | Test purpose | Quantity to confirm | Reuse allowed? | Measurement stage | Acceptance reference |
|---|---|---|---|---|---|
| Each | Dimensions | From inspection coverage | If handling allows | Specified delivery state | Controlled drawing |
| Each | Assembly and function | From required test sets | Per approved sequence | Defined assembly | Test specification |
| Selected | Destructive test | Separate pieces as needed | Not after destruction | Defined test condition | Test procedure |
| Selected | Retest or retention | Planned reserve | State restrictions | Agreed condition | Retest or retention plan |
Count distinct physical pieces across the approved test sequences, then add planned retest and retention pieces. Count an approved shared sample once and record its sequence.
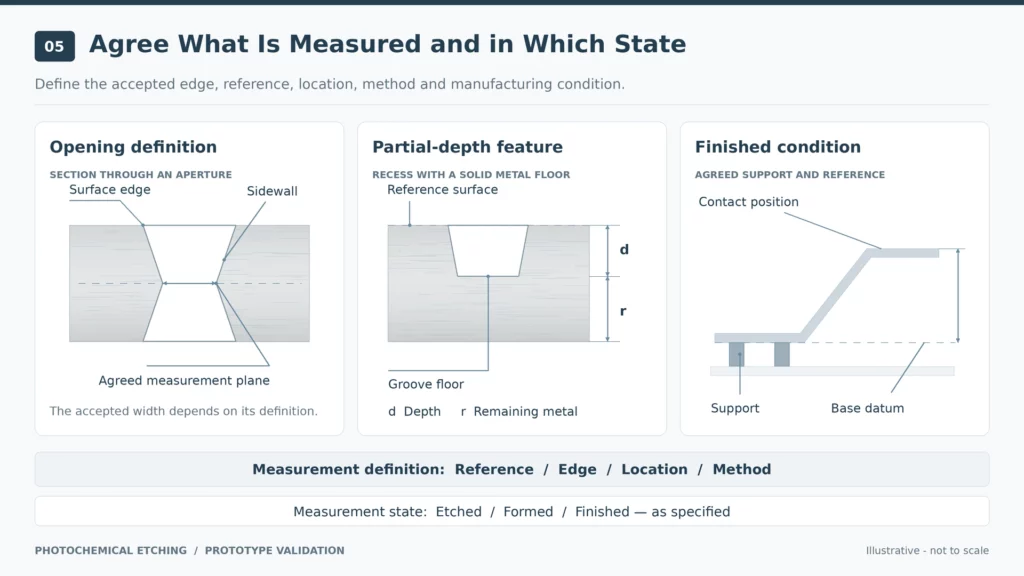
Define What Will Be Measured and Recorded
Match critical features to the measurement method, reference locations, inspection stage and acceptance criteria. Choose equipment against the design information and measurement requirements.
For flexible parts, agree support conditions during measurement. For finished parts, confirm which checks occur after forming or surface treatment.
Record sample identity, drawing revision, material information, measured results and the applicable criteria. Keep inspection records linked to the pieces sent for subsequent tests.
Retain actual readings and observations alongside the verdict. Note any damaged sample, altered test setup or departure from the procedure so the reviewer can assess the result.
Compare Results and Freeze the Design
Use the planned acceptance criteria to decide what each version has demonstrated. Record evidence gaps before selecting a revision for the next stage.
Compare Dimensions and Function Separately
Maintain separate results for dimensions, assembly and function. If a grille meets its hole dimensions but the required acoustic test has not been completed, keep the functional decision open.
Compare versions under the agreed test conditions. Record differences in fixtures, assembly, surface state or test method before interpreting the results.
Where several features changed together, record that limitation when attributing a result to one change. Plan a further comparison if the available evidence cannot answer the original design question.
Close Open Issues Before Releasing a Revision
Create a decision log that identifies the variant, evidence reviewed, unresolved issues, next action and approver. Use statuses such as accepted for the stated purpose, verification pending, or revise and retest.
For each deviation, decide whether to change the drawing, repeat a measurement or run another sample iteration. Record the reason, responsible person and evidence required to close the item.
When selecting a revision, align the drawing, material, finish and acceptance documents. State the scope of approval and retain the supporting sample and test records.
Record rejected variants and the evidence behind their rejection. This preserves the reason for the decision when a later change reopens the same design question.
Design-freeze output: an approved revision, its supporting evidence, any stated limitations and a clear list of requirements still to verify at the next stage.
Move from Prototype to Pilot and Production
Review the next manufacturing stage against the approved prototype configuration. Define what stays the same and what requires further verification.
Review What Changes at the Next Stage
PCM supports development from prototype through pilot and production. For your project, confirm the actual material source, process route, subsequent operations, inspection and delivery format proposed for each stage.
Record changes from the tested samples. Review their effect on the requirements and agree what evidence is needed before release.
If production introduces a new panel layout, separation method or packaging, include that difference in the change review.
If pilot production is planned, give it a defined purpose. State which manufacturing, inspection or handling questions it must resolve and who approves the results.
Approve the Production Package
Prepare the approved drawing and revision, material specification, supplied condition, thickness and finish requirements. Include acceptance criteria, required records, packaging and change-control arrangements.
Reference the sample and test evidence supporting the release. Confirm any remaining verification tasks and approval conditions in writing.
Apply first article or other customer-specific approval procedures where the contract requires them. Agree their scope and required records with the responsible team.
Keep later material, drawing and process changes connected to this approved package. Identify who assesses each change and decides whether affected requirements need renewed verification.
Control Prototype Spending Without Losing Test Coverage
Control spending by defining the questions and deliverables before requesting a quotation. State the number of variants, compatible processing groups, sample uses and expected iteration stages.
Ask the supplier to identify separate processing, finishing, inspection and documentation needs. Review proposed reductions against the tests they would remove or postpone.
Confirm each quotation against the current version register and sample allocation plan. For detailed cost drivers and quotation comparisons, use the guide to photochemical etching costs. Approve changes to test coverage with the person responsible for the affected requirement.
Frequently Asked Questions
Can Acid Etching Be Used for Parts Prototyping?
Yes, in the thin-metal photochemical manufacturing context discussed here. Review the material, drawing and intended sample state with the supplier. The term “acid etching” alone does not define the manufacturing scope or acceptance requirements.
Can Several Prototype Designs Share One Sheet?
Compatible designs may share processing after supplier review. Confirm material, thickness, condition, feature requirements and subsequent operations. Preserve variant identity through separation, inspection and testing, and confirm the quoted scope.
How Many Samples Should Each Design Version Include?
Count the distinct pieces required for the approved test sequences, then add planned retest and retention pieces. Confirm reuse before combining allocations. Destructive tests and any tests that alter later results need specific sample arrangements.
Is This the Same as Etching a 3D-Printed Prototype?
This guide covers components made from metal sheet or foil. Etching a 3D-printed object is a separate process question. Identify the printed material, manufacturing condition, intended treatment and acceptance requirements before requesting feasibility confirmation.
Request a Prototype Review
Send your drawing and version register, material grade, thickness and supplied condition. Include the test objectives, proposed variants, sample uses, critical acceptance requirements and expected delivery arrangement.
Discuss the plan through TMNetch’s chemical etching services. Confirm feasibility, compatible processing groups, delivered condition and the next verification steps before approving samples. Use the resulting records to guide revision decisions and the transition toward production.